Customizing the UI
This script adds various classes, ids, data attributes, and CSS variables to the elements it creates or modifies. You can use these to further customize the appearance of the UI using custom CSS styles.
Targeting elements
In general, elements added to the page will have a class added that starts with komodo-. Data attributes like data-komodo-tag-name and data-komodo-tag-value are added to pill elements and filter controls which can be used to target specific elements. You can inspect these elements using your browser's developer tools or refer to the following files for more details on the attributes added:
- Classes and data attributes: src/constants.ts
- CSS variables: src/global.css
Tags pills have multiple children so that you can style the name, value, and separator separately. This is handy because you can use an easy to type tag name like loc, but use CSS to replace the original value with something more readable like Location or even an emoji like 📍. You can even hide parts of the tag completely to save space if you wish.
Applying styles
To add custom CSS to pages, you can use a user style manager like Stylus.
For example, you could use the following CSS to change the background color and add an emoji to all pills with the name status and the value wip:
.komodo-pill[data-komodo-tag-name='status'][data-komodo-tag-value='wip'] {
	background: orange;

	& > div::before {
		content: '🚧 ';
		font-size: x-small;
	}
}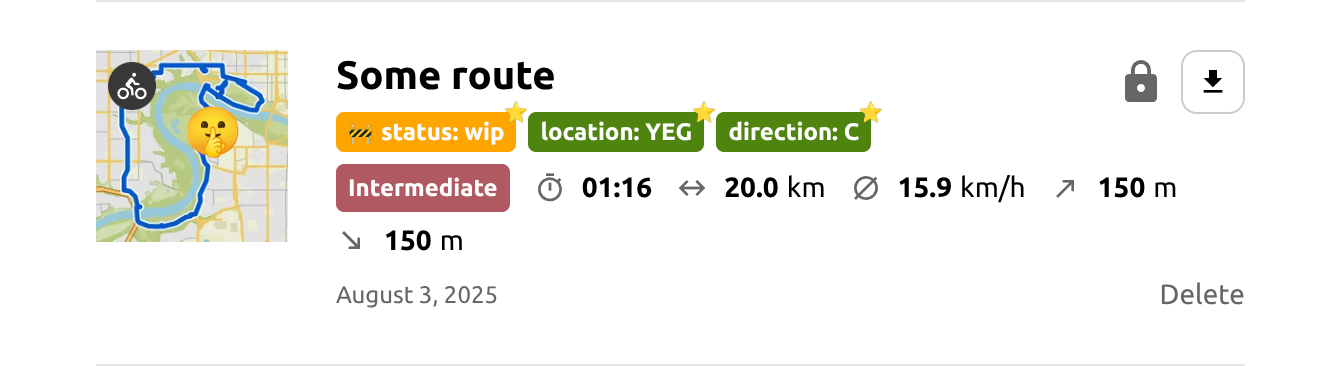 |
|---|
| Custom pills on the route list page - v0.1.0 |
For a more complete example, see examples/custom-styles-for-komodo.user.css. These are similar to the styles I am actually using:
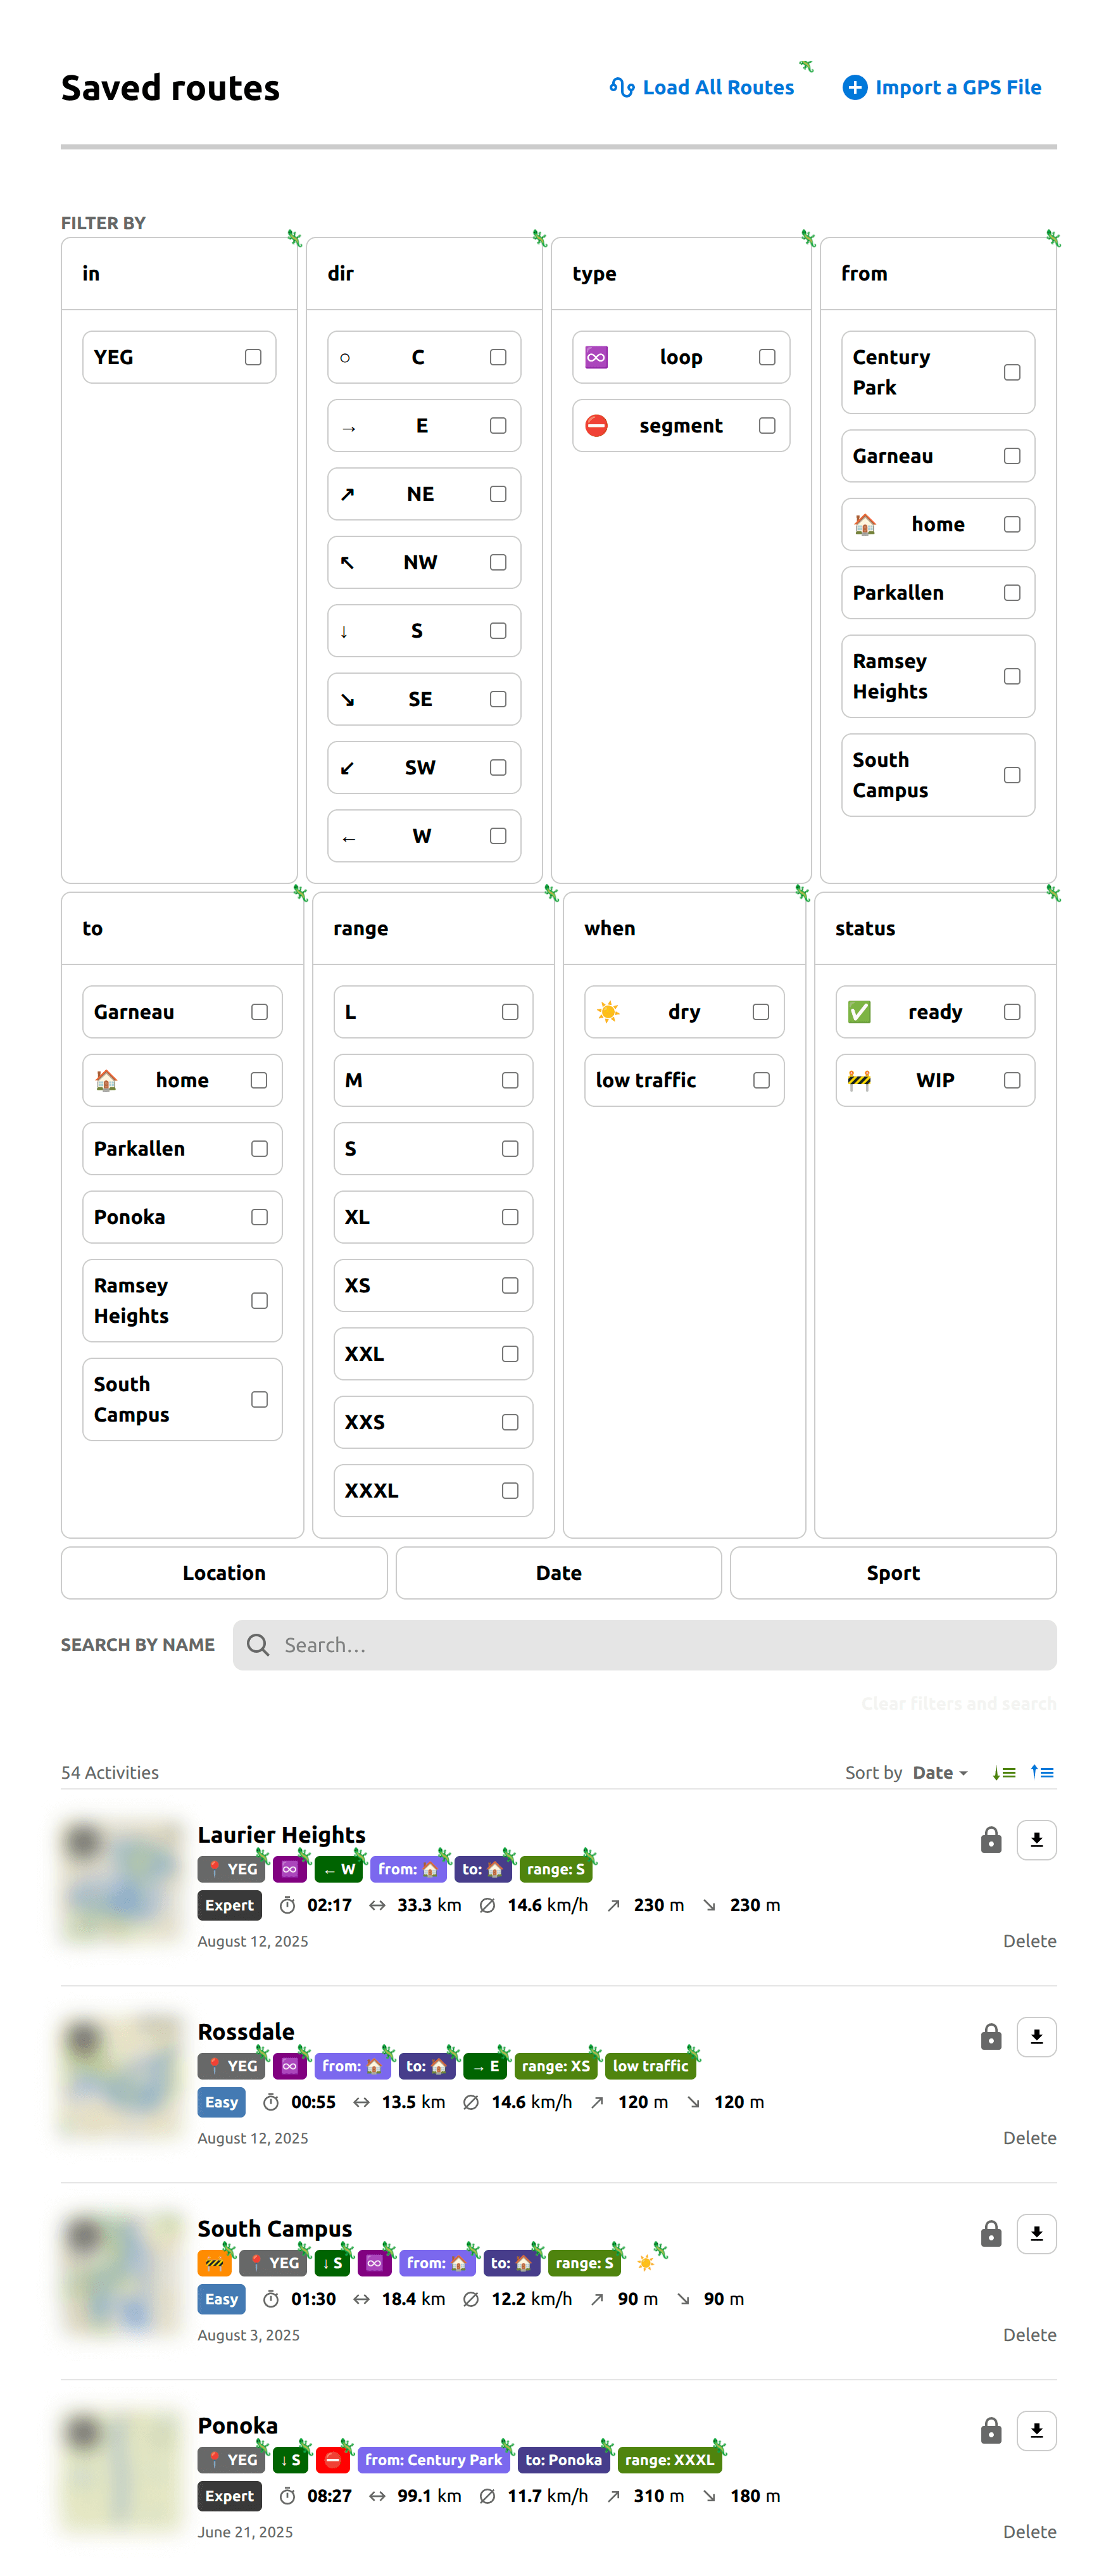 |
|---|
| Kitchen sink styles (examples/custom-styles-for-komodo.user.css) on the route list page - v1.0.0 |